Embark on an exploration of indoor ivy care, delving into the captivating world of these versatile plants. From understanding their diverse species to mastering their unique growing requirements, this comprehensive guide empowers you to nurture and maintain thriving indoor ivy.
As we unravel the secrets of indoor ivy care, you’ll discover the ideal light, temperature, and humidity levels that foster their well-being. Watering and fertilization techniques will be demystified, ensuring your plants receive the nourishment they need to flourish.
Plant Overview
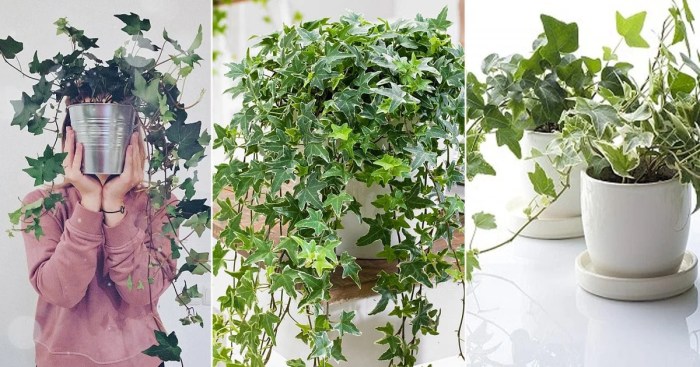
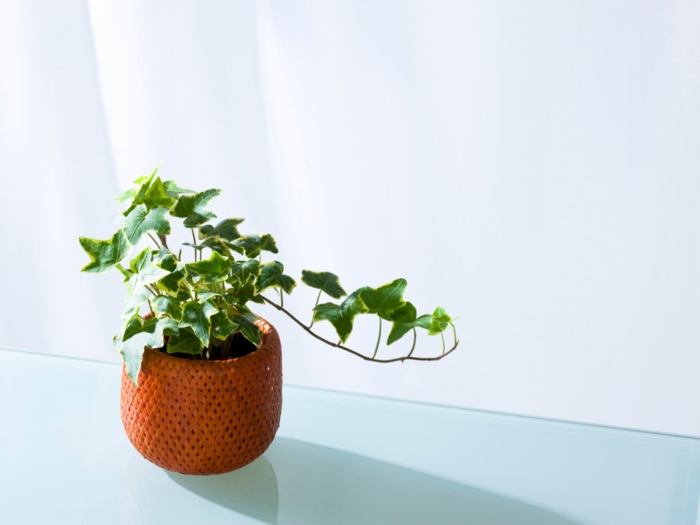
Indoor ivy, known for its trailing stems and lush foliage, encompasses various species with distinct characteristics. These include:
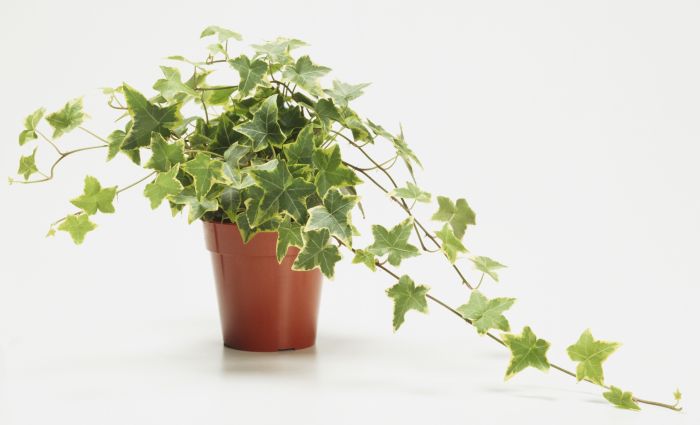
English Ivy, Indoor ivy care
- Scientific name: Hedera helix
- Trailing stems with three to five lobes per leaf
- Prefers bright, indirect light and moist soil
Algerian Ivy
- Scientific name: Hedera canariensis
- Larger leaves with fewer lobes than English ivy
- Tolerates lower light levels and drier conditions
Japanese Ivy
- Scientific name: Hedera rhombea
- Smaller leaves with three to five lobes
- Prefers partial shade and moist soil
Ideal Growing Conditions
Indoor ivy thrives in specific growing conditions:
- Light:Prefers bright, indirect light but can tolerate lower light levels.
- Temperature:Ideal temperature range is between 60-75°F (16-24°C).
- Humidity:Appreciates high humidity, which can be provided by misting or placing a humidifier nearby.
Watering and Fertilization
Maintaining indoor ivy’s health requires proper watering and fertilization practices. Understanding the plant’s water and nutrient needs is crucial to ensure its well-being.
Watering
Ivy prefers consistently moist soil but not waterlogged conditions. Water the plant thoroughly when the top 1-2 inches of soil feel dry to the touch. Avoid overwatering, as it can lead to root rot. Use lukewarm water and water slowly to allow the soil to absorb moisture evenly.
Fertilization
Fertilizing indoor ivy every 2-3 months during the growing season (spring and summer) promotes healthy growth and vigor. Use a balanced liquid fertilizer diluted to half strength and apply it to the soil according to the manufacturer’s instructions.
Indoor ivy care is not difficult, but it does require some attention to detail. The plant prefers bright, indirect light and well-drained soil. Watering should be done when the soil is dry to the touch. For those looking for a more dramatic touch, real hanging plants such as ivy can add a touch of elegance and greenery to any room.
With proper care, indoor ivy can thrive for many years, adding a touch of nature to your home.
Pruning and Maintenance

Indoor ivy requires regular pruning and maintenance to maintain its shape and encourage healthy growth. Pruning involves removing excess or damaged stems, while maintenance includes cleaning and grooming to keep the plant looking its best.
Pruning Techniques
- Use sharp, clean shears to make clean cuts at a 45-degree angle.
- Remove dead, damaged, or diseased stems at the base.
- Cut back long, leggy stems to encourage bushier growth.
- Prune regularly to maintain the desired shape and size.
Cleaning and Grooming
Regular cleaning and grooming help remove dust and yellowed leaves, improving the plant’s appearance and health.
- Use a soft cloth or brush to gently wipe down the leaves.
- Remove yellowed or damaged leaves by cutting them off at the base.
- Avoid using harsh chemicals or detergents on the leaves.
Troubleshooting Common Issues: Indoor Ivy Care

Indoor ivy is a resilient plant, but it can occasionally encounter problems. These issues may include pests, diseases, and nutrient deficiencies. By understanding the signs and symptoms of these problems, you can take steps to resolve them and keep your ivy healthy.
Indoor ivy, with its cascading vines and air-purifying abilities, requires specific care to thrive indoors. For those seeking expert guidance on orchid care, Bunnings Orchid Soil: The Ultimate Guide to Nurturing Your Orchids offers comprehensive insights into orchid soil selection and cultivation.
Returning to indoor ivy care, ensuring proper watering, sunlight exposure, and support is crucial for its optimal growth and aesthetic appeal.
Pests
- Aphids:Small, soft-bodied insects that feed on plant sap, causing leaves to curl and yellow.
- Mealybugs:White, cottony insects that feed on plant stems and leaves, causing wilting and yellowing.
- Spider mites:Tiny, spider-like creatures that feed on plant leaves, causing them to turn brown and drop.
When it comes to indoor ivy care, selecting the right pot is crucial. For a stylish and durable option, consider Bunnings Outdoor Ceramic Pots . These pots offer a wide range of designs and sizes, ensuring you find the perfect fit for your ivy.
Their sturdy construction ensures durability, while their glazed finish provides a touch of elegance to your indoor space.
To control pests, you can use organic methods such as insecticidal soap or neem oil. For severe infestations, chemical insecticides may be necessary.
Diseases
- Botrytis blight:A fungal disease that causes gray or brown spots on leaves and stems, leading to wilting and collapse.
- Powdery mildew:A fungal disease that causes a white, powdery coating on leaves, reducing photosynthesis and plant growth.
- Root rot:A fungal disease that causes roots to rot and decay, leading to wilting and yellowing of leaves.
To prevent and control diseases, ensure proper watering and avoid overwatering. Use well-draining soil and provide adequate air circulation. For severe infections, fungicides may be necessary.
Nutrient Deficiencies
- Nitrogen deficiency:Causes leaves to turn yellow and stunted growth.
- Phosphorus deficiency:Causes leaves to turn purple or bronze and reduces flowering.
- Potassium deficiency:Causes leaves to turn brown and develop brown spots.
To correct nutrient deficiencies, fertilize your ivy regularly with a balanced fertilizer. Follow the instructions on the fertilizer label for proper application rates.
When caring for indoor ivy, selecting the right plant basket is crucial. For a comprehensive guide on plant baskets, from types to uses and care tips, refer to Discover the Enchanting World of Bunnings Plant Baskets . By following the expert advice provided in this guide, you can ensure your indoor ivy thrives and adds a touch of greenery to your living space.
Propagation and Repotting

Propagating and repotting are essential techniques for maintaining healthy indoor ivy plants. This guide provides detailed instructions on both processes to ensure your ivy thrives.
Propagation
Propagating indoor ivy allows you to create new plants from existing ones. Two common methods are stem cuttings and layering:
Stem Cuttings
- Select healthy stems with several nodes (where leaves attach).
- Cut a 4-6 inch stem below a node using sharp, sterilized shears.
- Remove the lower leaves, leaving only a few at the top.
- Dip the cut end into rooting hormone (optional).
- Plant the cutting in a pot filled with well-draining potting mix.
- Keep the soil moist and provide bright, indirect light.
- Roots should develop within a few weeks.
Layering
- Select a long, flexible stem.
- Wound the stem by making a shallow cut or nick near a node.
- Pin the wounded area down into the soil, covering it with a layer of potting mix.
- Keep the soil moist.
- Roots should develop from the wounded area within a few months.
Repotting
Repotting indoor ivy is necessary when the plant outgrows its current container. Choose a pot that is slightly larger than the previous one, with drainage holes at the bottom.
Step-by-Step Instructions
- Water the ivy plant thoroughly the day before repotting.
- Carefully remove the plant from its old pot, gently loosening any tangled roots.
- Fill the new pot with fresh, well-draining potting mix, leaving about 1 inch of space at the top.
- Place the ivy plant in the center of the pot and fill in the remaining space with potting mix.
- Firm the soil around the plant, ensuring it is stable.
- Water the plant thoroughly and allow any excess water to drain.
Conclusive Thoughts

With indoor ivy care mastered, you’ll witness the transformation of your living space into a vibrant oasis. These resilient plants not only add aesthetic charm but also contribute to a healthier indoor environment. Embrace the joy of indoor ivy care and revel in the beauty and tranquility they bring to your home.
FAQ Compilation
How often should I water my indoor ivy?
Water your indoor ivy when the top inch of soil feels dry to the touch. Avoid overwatering, as this can lead to root rot.
What is the best fertilizer for indoor ivy?
Use a balanced liquid fertilizer diluted to half strength once a month during the growing season.
How do I prune my indoor ivy?
Prune your indoor ivy regularly to maintain its shape and encourage new growth. Cut back any leggy or overgrown stems.