How to trim mint plant without killing it – Discover how to trim mint plants without killing them, ensuring optimal growth and bountiful harvests. This comprehensive guide delves into the intricacies of mint plant care, empowering you with the knowledge to nurture these aromatic herbs.
From understanding mint plant growth cycles to employing proper trimming techniques, this guide covers every aspect of mint plant maintenance. Learn how to identify signs of maturity, trim selectively, and encourage new growth while preventing overgrowth.
Understanding Mint Plant Growth

Understanding the growth cycle of mint plants is crucial for proper trimming and maintenance. Mint plants, known for their aromatic leaves and culinary versatility, exhibit a specific growth pattern that influences the ideal time for trimming.
Growth Cycle
- Spring:Mint plants emerge from dormancy and begin active growth, producing new shoots and leaves.
- Summer:Plants reach maturity, developing dense foliage and flowering. This stage marks the optimal time for trimming to encourage bushier growth.
- Fall:Plants begin to die back as temperatures cool, storing energy for winter dormancy.
- Winter:Mint plants enter dormancy, with most of their foliage dying back. Trimming during this period should be avoided.
Trimming Techniques

Proper trimming techniques are crucial for maintaining the health and productivity of mint plants. Here’s a step-by-step guide to trimming mint without damaging it:
Using Sharp Tools and Proper Cutting Techniques
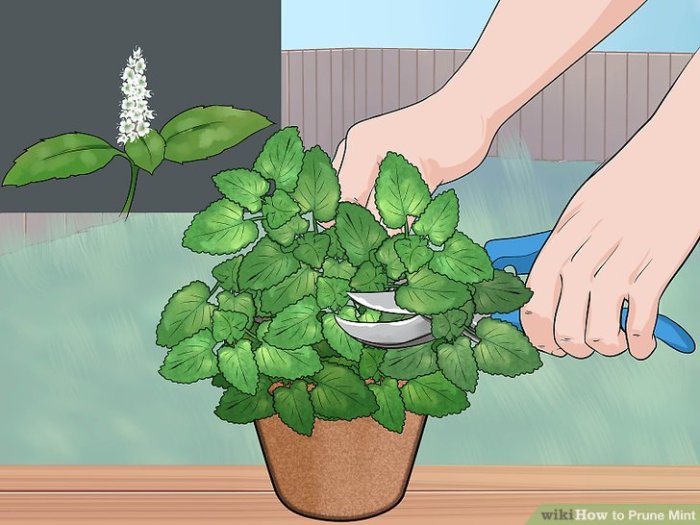
Sharp tools are essential for clean cuts that minimize damage to the plant. Use pruning shears or scissors specifically designed for gardening. Cut stems at a 45-degree angle, just above a set of leaves. This encourages new growth and prevents water from collecting on the cut end.
Selective Trimming and Removing Old Growth
Selective trimming involves removing only certain stems or leaves to promote new growth and improve airflow. Identify and remove any yellowing, diseased, or overgrown stems. Focus on removing old growth at the base of the plant to encourage new shoots.
This process helps rejuvenate the plant and maintains its vigor.
Post-Trimming Care
To ensure the continued health and vitality of your mint plants after trimming, proper post-trimming care is essential. This includes watering, fertilizing, and protecting your plants from pests and diseases.
Watering:After trimming, mint plants require regular watering to replenish the moisture lost through the removal of leaves. Water your plants deeply, allowing the water to penetrate the soil to the roots. Avoid overwatering, as this can lead to root rot.
To keep your mint plant thriving, trim it regularly by removing dead or damaged leaves and stems. Similarly, when trimming cordyline plants ( how to trim cordyline plants ), cut back overgrown stems to maintain their shape and encourage new growth.
Returning to mint plants, trimming promotes healthy growth and prevents overcrowding.
Fertilizing
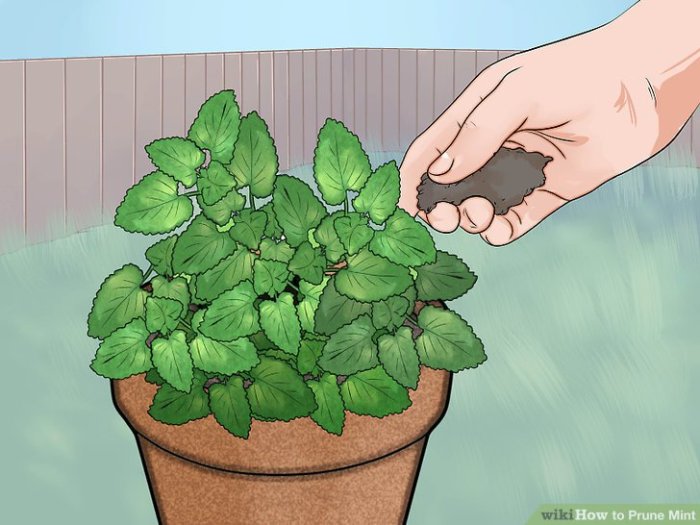
Fertilizing your mint plants after trimming is crucial for promoting new growth and replenishing the nutrients lost during trimming. Use a balanced fertilizer, such as a 10-10-10 or 12-12-12 formula, and apply it according to the manufacturer’s instructions.
Protecting from Pests and Diseases
Trimmed mint plants can be more susceptible to pests and diseases, so it’s important to take steps to protect them. Keep your plants clean by removing any fallen leaves or debris. Inspect your plants regularly for signs of pests or diseases, and treat any infestations promptly with appropriate pesticides or fungicides.
Encouraging New Growth and Preventing Overgrowth
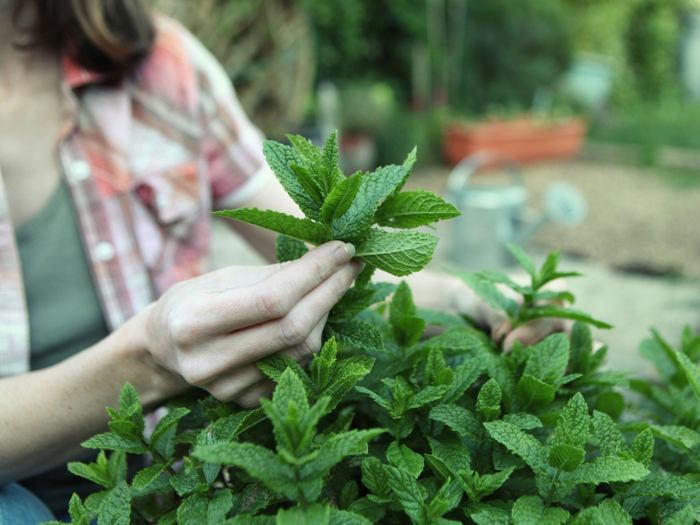
To encourage new growth and prevent overgrowth, pinch back the tips of new shoots regularly. This will promote branching and help to maintain a compact, bushy plant. Avoid removing too much foliage at once, as this can weaken the plant.
Harvesting Mint
Harvesting mint leaves is a simple process that can be done throughout the growing season. The best time to harvest mint is in the morning, after the dew has dried. This will ensure that the leaves are at their peak freshness and flavor.
To harvest mint leaves, simply use a sharp knife or scissors to cut the leaves from the stem. You can harvest individual leaves or entire stems, depending on your needs.
When trimming mint plants, it’s crucial to avoid cutting too much at once. For jade plants, the trimming technique is slightly different. As with mint plants, avoid over-trimming to prevent damaging the plant. Refer to our guide on how to trim jade plants for more detailed instructions.
This will ensure you maintain a healthy and thriving mint plant.
Determining When Mint Leaves Are Ready for Harvest
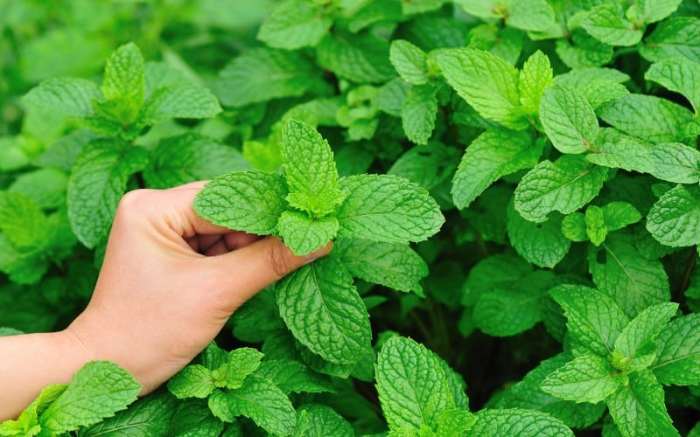
Mint leaves are ready for harvest when they are fully mature and have a deep green color. The leaves should be free of any pests or diseases. To test if a mint leaf is ready for harvest, gently pinch it between your thumb and forefinger.
If the leaf is firm and does not easily tear, it is ready to be harvested.
Storing and Preserving Harvested Mint
Harvested mint leaves can be stored in the refrigerator for up to two weeks. To store mint leaves, wrap them in a damp paper towel and place them in a plastic bag. You can also freeze mint leaves for up to six months.
To freeze mint leaves, wash and dry them thoroughly. Then, place the mint leaves in a freezer-safe bag and freeze them.
Troubleshooting Trimming Issues: How To Trim Mint Plant Without Killing It

Trimming mint plants is a crucial aspect of maintaining their health and productivity. However, it’s essential to be aware of potential problems that can arise during the process.
Trimming mint plants without damaging them requires careful attention to their growth patterns. Similarly, trimming tomato plants involves strategic pruning to enhance fruit production. For tomato plants, removing suckers and excess foliage allows nutrients to focus on developing larger, healthier fruit.
Learn more about trimming tomato plants to maximize their yield. Returning to mint plants, pinching back the tips of stems encourages bushier growth, ensuring a continuous supply of fresh mint.
This article will identify common trimming issues, discuss their causes, and provide solutions to prevent and resolve them, ensuring the well-being of your mint plants.
Plant Shock
- Symptoms:Wilting, yellowing leaves, stunted growth
- Causes:Over-trimming, improper timing
- Solutions:Trim sparingly, especially during the plant’s active growing season. Water the plant thoroughly after trimming to reduce stress.
Leaf Yellowing
- Symptoms:Leaves turn yellow or brown, eventually falling off
- Causes:Nutrient deficiency, sunburn, over-watering
- Solutions:Fertilize the plant regularly, provide shade from direct sunlight, and ensure proper drainage to prevent root rot.
Root Damage, How to trim mint plant without killing it
- Symptoms:Slowed growth, wilting, yellowing leaves
- Causes:Trimming too close to the base of the plant, improper tools
- Solutions:Trim above the leaf nodes, use sharp, clean tools, and avoid disturbing the roots excessively.
Outcome Summary

By following the principles Artikeld in this guide, you can confidently trim your mint plants without compromising their health or productivity. Enjoy the fresh, aromatic flavors of homegrown mint while fostering a thriving garden ecosystem.
Questions and Answers
What is the ideal time to trim mint plants?
Trim mint plants in early spring or late summer, when the plants are actively growing.
How do I know when mint leaves are ready for harvest?
Mint leaves are ready for harvest when they are fully mature and have a vibrant green color.
How do I store harvested mint?
Store harvested mint in a sealed container in the refrigerator for up to 2 weeks.